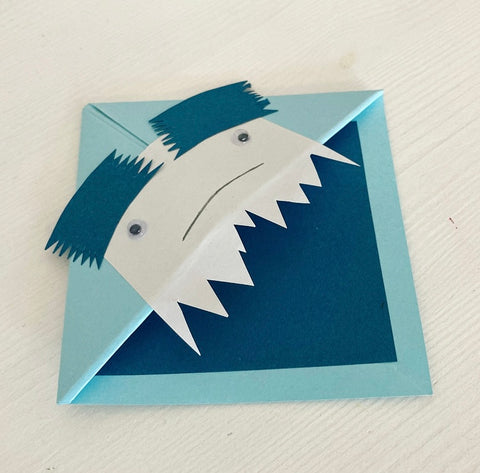
This origami yeti makes a cute and practical bookmark for your favourite read! Just follow these simple steps...
1. Take a sheet of 12 x 12cm pale blue paper and fold it diagonally in both directions to obtain fold marks. Open it again, and then fold the bottom point up to the top, making a triangle.
2. Grab hold of the top of the triangle (the top layer only) and fold it down towards the centre of the bottom of the triangle.
3. Next, hold the right hand corner and fold it towards the centre of the bottom of the triangle. Do the same with the left hand corner and crease it well.
4. Open the corners out again, then grab the right hand corner and fold it up to the top of the triangle. Repeat with the left hand corner. You’ll get a square. Then tuck each flap into the pocket.
5. Now it's time to decorate your Yeti bookmark! Cut a dark blue paper triangle and stick it to the inside of the bookmark leaving a light blue border all around. Cut out a face area with a jagged edge from white paper, and glue it in the middle. Cut two shaggy eyebrows from dark blue paper and stick them in position, and then add two wobbly eyes. Use a black pen to add a mouth and your yeti is finished!

Materials: light blue, dark blue and white paper; two small wobby eyes; a black pen; scissors and glue.

